Installing gym rubber roll flooring requires attention to detail, including preparation, precise cutting, and proper seam alignment.
Installation affects any home workout area or fitness centre, from levelling to performance in normal use. Understanding each stage can help you avoid pitfalls and create a stable, functional workout area.
What Should You Prepare Before Installation?
Always prepare the room, check the material, and verify the manufacturer’s recommended installation method before laying. Adhesive might be required for rubber rolls, depending on the product and application. Read the technical instructions before you start.
- Clean the Subfloor: Clear dust, grease, debris and loose material. The surface should be clean, dry, strong, and sufficiently even.
- Inspect the Base: Repair cracks or uneven areas, and correct moisture issues, before installing. A subfloor that isn’t optimal will reduce adhesion and create an uneven surface.
- Gather the Tools: Use a measuring tape, chalk line, straightedge, sharp utility knife, appropriate adhesive (if needed), and the recommended tools.
- Check the Rolls: Check the product, quantity and appearance before cutting. Follow the manufacturer’s acclimatisation instructions to allow the material to acclimatise to the room.
How to Install Gym Rubber Roll Flooring Step by Step
Once the subfloor is in place, position the rolls and secure them to the subfloor using the recommended technique. Spend time on aligning and seams. This will give you a more finished look.
Measure the Area and Plan the Layout
Measure the room’s length and width. Record corners, doorways, columns etc. Plan the roll direction to minimise joints and waste. Use a chalk line to draw a straight reference line, especially if the walls aren’t square.
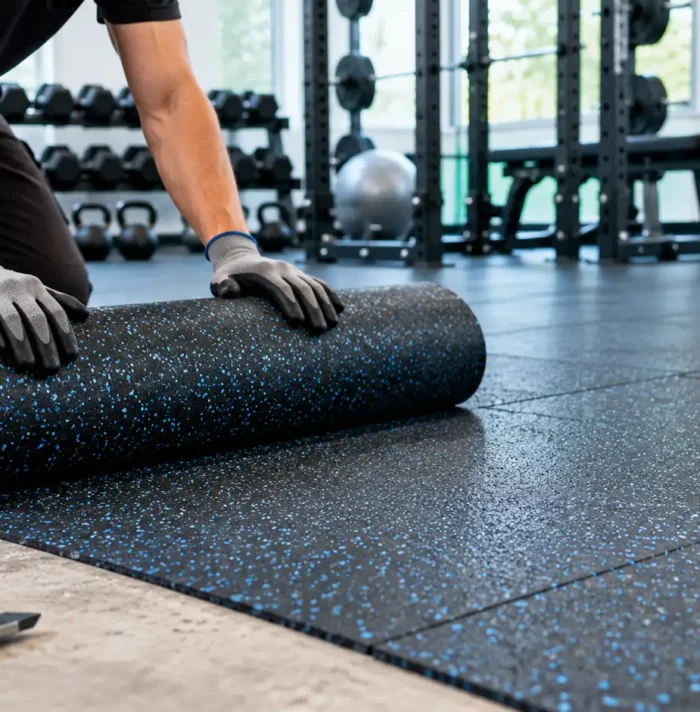
Unroll and Position the Flooring
Place the rolls as directed by the manufacturer and let them rest. Install the material dry first to check alignment and determine where cuts are needed. Add some extra at the sides as you will need to cut it to shape later.
Cut and Align the Rolls
When cutting around walls, corners and obstacles that do not move, use a straightedge and sharp utility knife. Line up neighbouring rolls with their edges close together. Keep seams straight. Do not leave gaps or compress too much, as it will create visible bumps.
Apply Adhesive and Secure the Flooring
If the product requires glue-down installation, carefully fold it back. Use the recommended adhesive and trowel. Place the rubber in adhesive, avoiding air bubbles. If the instructions require a specified roller, use the one indicated. Follow the instructions for application and curing of the adhesive. Some products offer other installation techniques, and you may not always need to use the same adhesive as with a roll.
What Should You Check After Installation?
Before placing gym equipment down or allowing any activities to take place, inspect the surface after it’s complete. If you used adhesive, allow it to set properly.
- Inspect the Seams: Check for any visible gaps, raised edges or uneven joins.
- Check the Perimeter: Ensure the flooring fits snugly around walls, doorways, and stationary obstacles.
- Allow Proper Curing: Avoid adding foot traffic or heavy equipment to bonded flooring until the adhesive manufacturer recommends it.
- Review the Finish: Check for adhesive residue and ensure the surface is flat.
Conclusion
A good installation starts with a suitable subfloor. It depends on accurate measurements, neat seams, and product-specific instructions.
For gym rubber roll flooring and other sports surface solutions, Australian Sport Surface offers products for fitness environments. Visit us today to explore our flooring range and discuss your project requirements.